In the past, you could only beautify your nails by applying nail polish, but now it has reached a point where decorating nails has become a separate art form. This art is called nail art. If various colors, patterns, or decorations are used on the nail, there is a nail art work. Although this work is thought to be easy, it actually requires meticulousness and serious care. You can find detailed information about simple and easy nail art designs below.
If you wish, you can receive service from a professional beauty salon without any hassle. You also have the chance to do simple nail art works at home. Of course, if you trust your skills, you can also do challenging designs at home. However, whether at home or at work, certain details need to be considered before starting a nail art work. Hygiene is one of the most important details.
What Are the Tips for Nail Art Creation?
You should definitely pay attention to certain details when creating simple nail art works or designing challenging models. Some of the details you should pay attention to can be listed as follows:
- You need to pay attention to nail hygiene before and after having nail art done.
- The nail polishes you use during application should be of high quality. If the nail polishes are of poor quality, both your nails will be damaged and you won’t be able to achieve the design you want.
- Using nourishing applications and care creams makes your nails stronger. The beautiful appearance of your nails with reduced brittleness also makes simple nail art designs look more elegant.
- When doing easy nail art work, you should pay attention to choosing colors that match your skin tone. Also, the designs you choose should suit your hand structure. For example, if you have short fingers, you can make your hand look more beautiful by drawing long leaves.
Is Nail Art an Expensive Process?
The price of nail art varies depending on the beauty salon where the application is made. If you’re going to do simple nail art work at home, the price of the materials you’ll use also varies depending on the quality of the materials and the brands you prefer.
Materials You Need for Simple Nail Art Designs
You need some materials for easy nail art. First, you should decide on the nail polish colors you will use and prepare them. You can use stickers, beads, nail charms for decoration. You can also use materials such as rubber bands and tape in the shaping process. If you have the ability to use more professional materials, you can also buy nail art brushes. You also need materials such as acetone and cotton to erase mistakes and remove excess nail polish. All materials should be ready on the table before starting simple nail art work.
Nail Art Preparation Stage
Before moving on to the simple nail art preparation stage, it’s beneficial to have a hand care treatment. You can enhance the beauty of your hands by having a manicure. Also, applying a peeling treatment helps your nails look more well-groomed.
Easy Designs
For simple nail art work, you should first choose your design. If you’re a beginner, you can use nail art templates or molds. But if you want to create a design yourself, you should use materials like bobby pins or toothpicks.
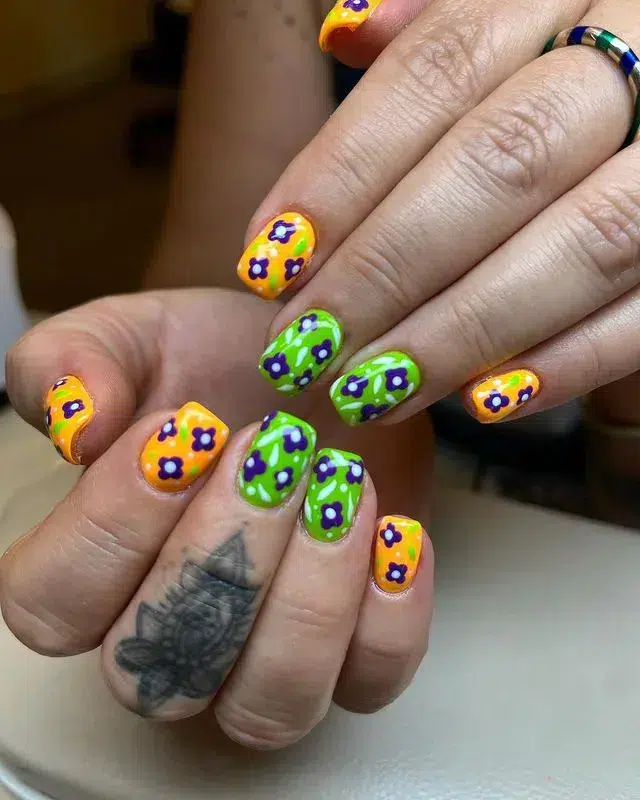
Flower Shapes
Flower shapes are frequently preferred in simple nail art designs. The daisy model is especially popular. If you want to bring this elegance to your hands, you need white and yellow nail polishes. You can also easily create shapes using materials like toothpicks and bobby pins.
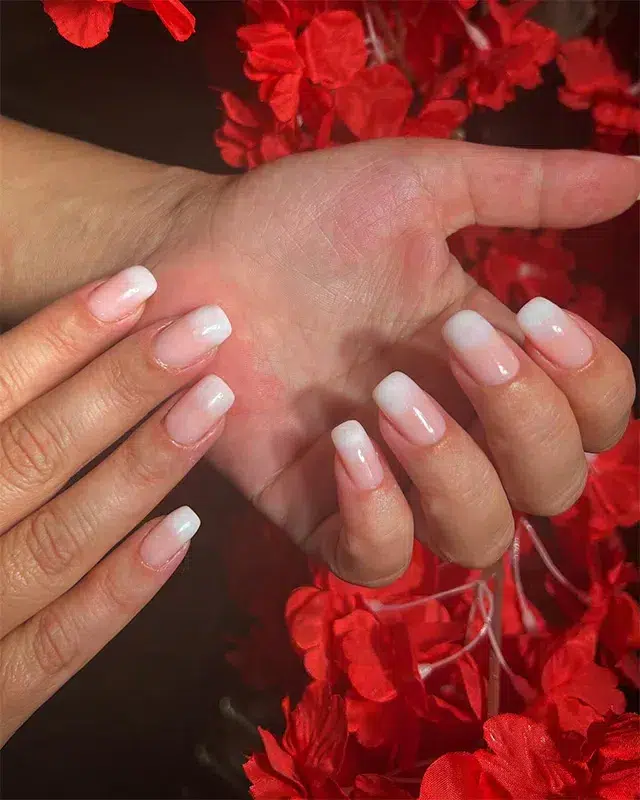
Reverse French
You can opt for the reverse French model. You can apply a nail polish of your choice to the exposed area by sticking a round band to the base of the nail. After the nail polish dries, you should remove the band and apply a different color nail polish to the exposed area.
Ombre
Known as a popular application for hair, ombre can also be preferred for nails. This way, you can create a very aesthetic look on your hands. You need a sponge for this. You can adjust the transitions with the help of a sponge. Among the easy nail art options, ombre might seem a bit more difficult. But you can easily adjust the transitions with a sponge and achieve the design you want.
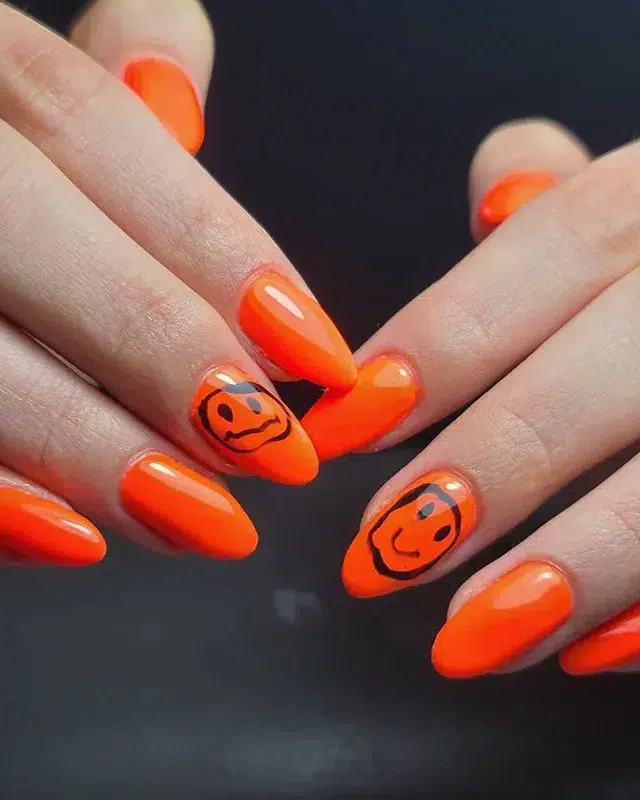
Smiley Designs
You can use various smiley types, which are used to express different emotions during messaging, when creating easy nail art. You don’t always have to use a smiling smiley. Instead, you can decorate your nails with angry, sad, or surprised faces. If you wish, you can decorate all your fingers with the same smiley design or reflect a different emotion on each finger.
Using Stickers
There are many stickers you can choose for nail art. It’s possible to decorate after applying your base polish with the stickers you’ve chosen. However, you need to wait for the polish to dry first.
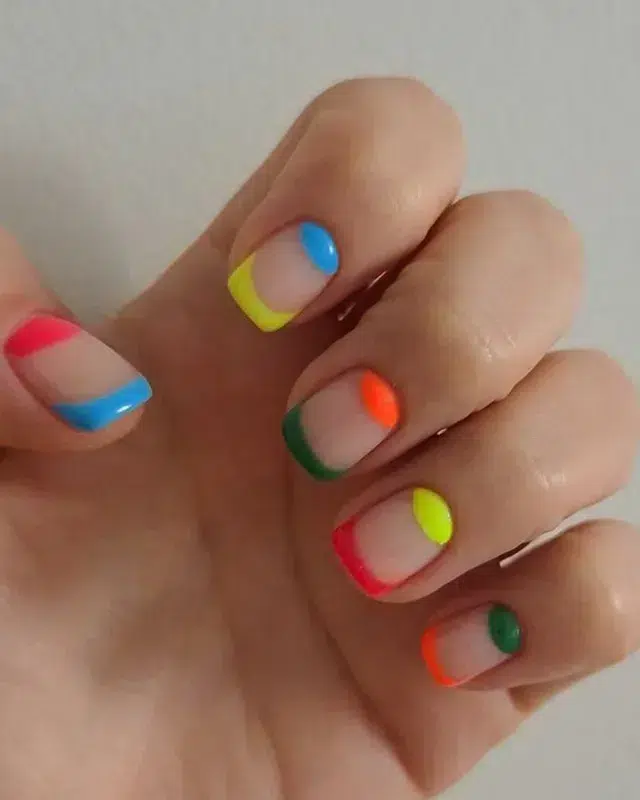
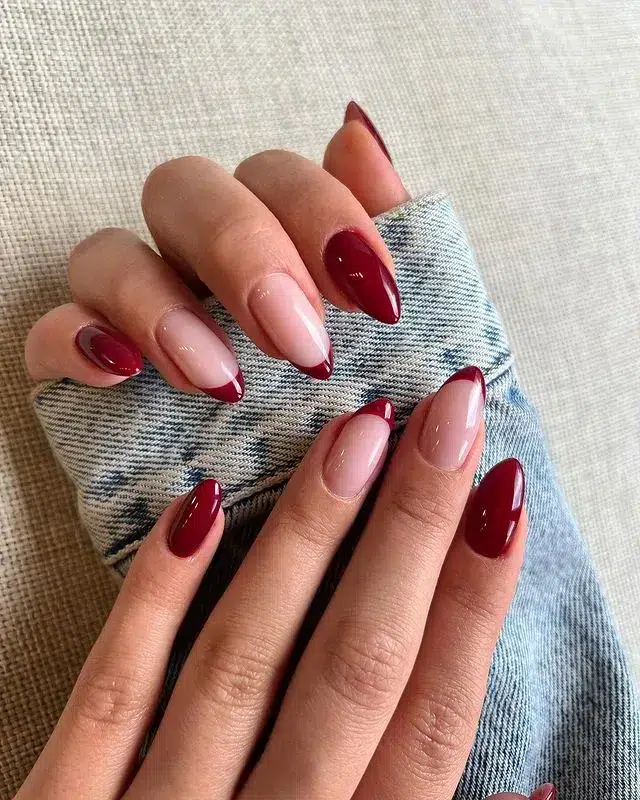
Colorful French
Instead of the classic white French manicure, you can apply a colorful version. Those looking for simple nail art techniques should definitely consider this option.
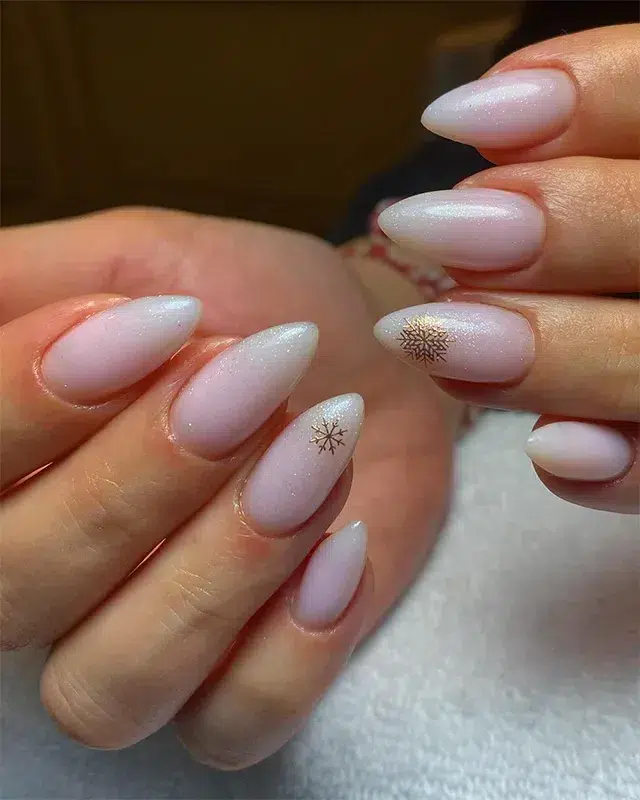
Glitter Models
You can apply glitter before your polish is completely dry. If you prefer, you can also choose a glittery polish. Glitter models are a good choice for nail art application. You can apply glitter to one finger or all your fingers.

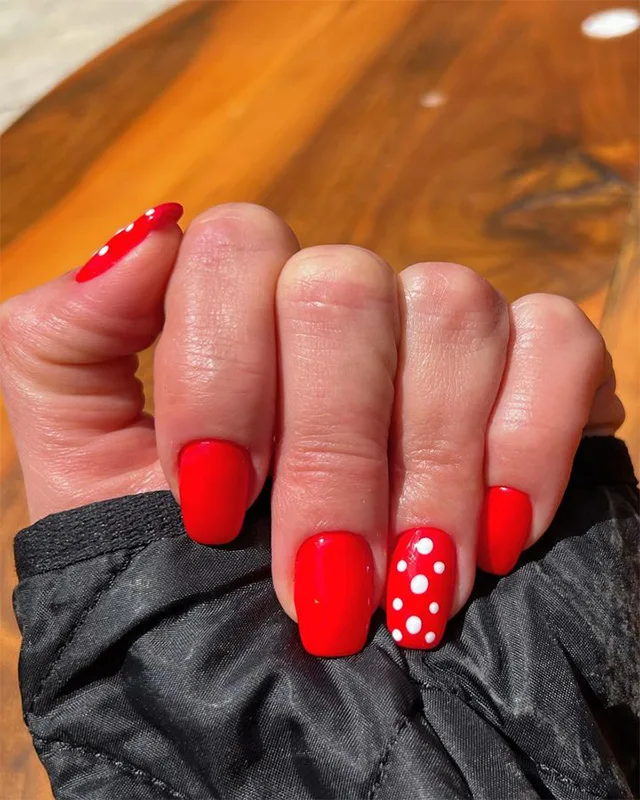
Polka Dots
Polka dot models are also among the simplest nail art designs. You can choose different colors for the polka dots. You should make a selection according to your taste from color options such as red-white, beige-white, red-black.
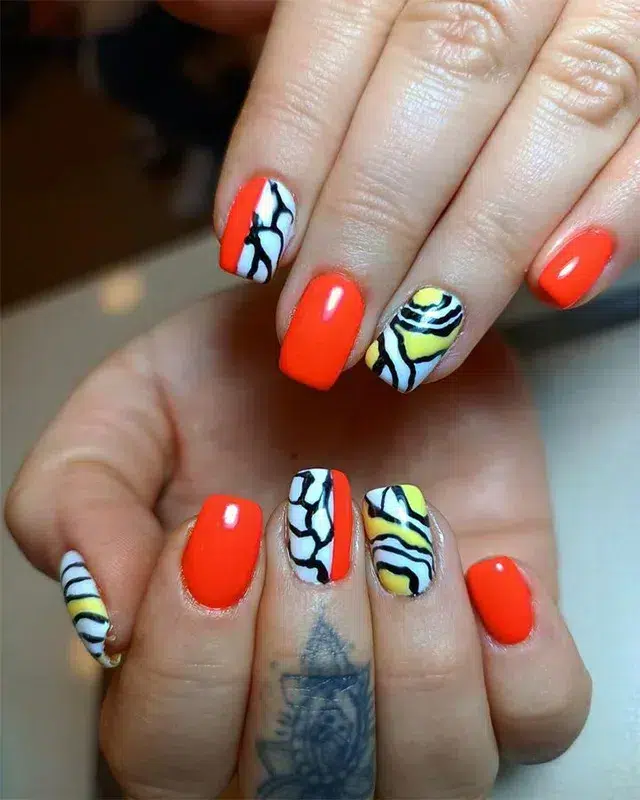
Snakeskin
All you need is a mesh to achieve a snakeskin look. After applying your polish, you can create a snakeskin appearance by pressing the mesh onto it before it’s completely dry. It’s possible to do this application on different colors.
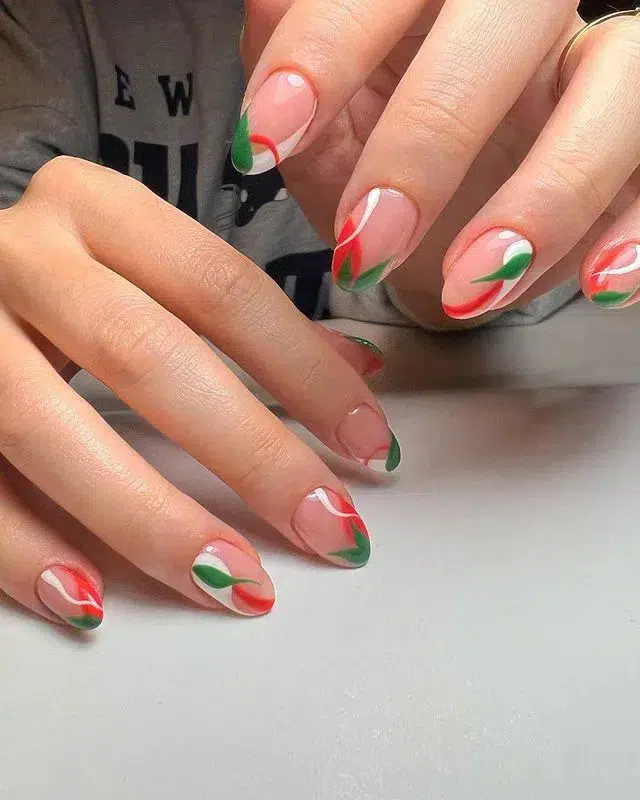
Leaf Models
One of the simplest shapes you can draw is a leaf. With the help of a toothpick or a wire hair pin, you can draw thin leaves and branches. Choose a matte or turquoise base color and add dark green leaves on top. Also, add designs like sun and clouds alongside the leaves; this way, you can create an impressive aesthetic inspired by nature.
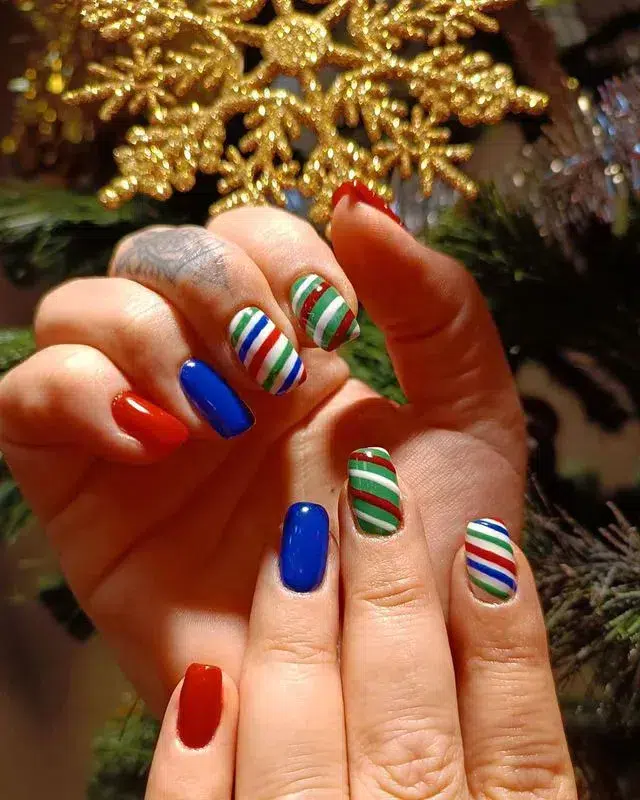
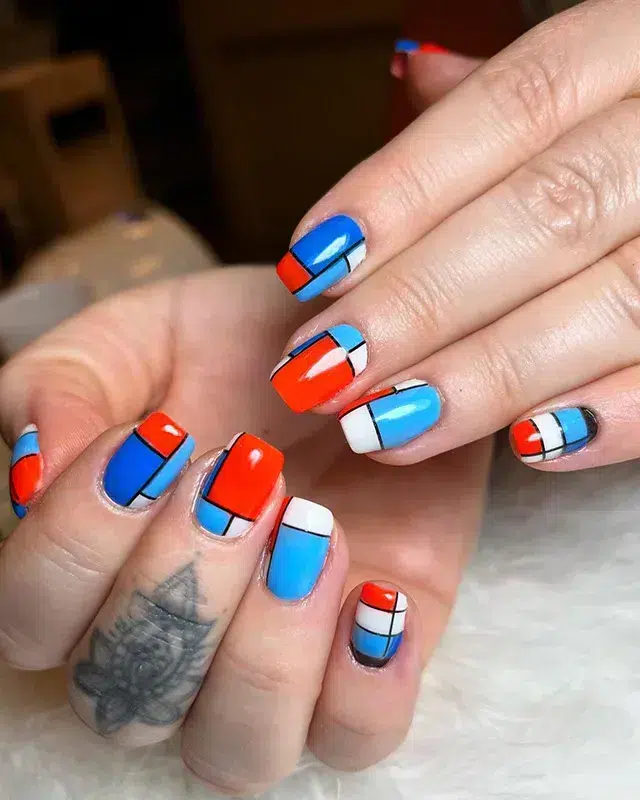
Geometric Shapes
Having different geometric shapes on your nails creates a very pleasing appearance. You can draw zigzags, lines at certain intervals, or small squares and triangles. You can make the look even more beautiful by adding decorative stones next to the geometric shapes.
How Long Does Nail Art Last?
If you do a simple nail art at home, it will last for a shorter time. Generally, you can continue to use your design for about fifteen days. A design done at a professional beauty salon will last longer. You have the chance to use the design you had done for about a month. If you wish, you can experience the privilege of using a special design for a longer time by getting a gel polish.
Why Should I Get Nail Art?
There can be many reasons for getting nail art. First, you can express yourself with the designs you create and the stickers you use. You can also use nail art to ensure your hands always have a well-groomed appearance. Starting with these models, you can reach the ability to draw more challenging models in the future. However, getting support from professionals always makes your job easier. A professional nail art artist will create satisfying results with unique designs and meticulous work. This way, you can have the chance to use special designs with pleasure.
How to Remove Nail Art?
After having nail art for a while, you might get bored and want to remove it. You can apply the classic nail polish removal method for nail art as well. However, it’s important that the acetone is strong. Because multiple colors are used, it might be difficult to clean nail polish residues. If there are any stickers, they should be removed before using acetone. Then you should apply the acetone to your nails with gentle movements. It’s important that the acetone has nourishing properties to prevent damage to your nails.

Retinol USage
Retinol Nedir ve Cilde Hangi Faydaları Sunar? Cilt bakımının sürekli evrilen dünyası, yeni buluşlarla dolup taşıyor. Bir yandan da bazı
Nail Designs
Nail designs that can be done with both your natural nails and artificial nails create a perfect opportunity to express


